GF Oil Based Liquid Wood Stains
TIPS BEFORE YOU START
Stir stains well before and during use.
Test color on a hidden area to make sure it is the color you want.
All stains may be intermixed to create custom colors or lightened by adding Pre-Stain Wood Conditioner.
Working in cool, damp places with temperatures below 60 degrees will not harm the finish but can substantially slow the dry time.
Spontaneous combustion in application rags is a very serious danger. Never leave application rags indoors. For complete disposal directions see instructions on can.
SUPPLIES NEEDED
Clean rags and/or paper towels
Foam brushes or paint pad applicators work best for large surfaces
Sandpaper for raw wood (see SURFACE PREPARATION for grits)
'0000' steel wool and/or #320 or finer sandpaper for buffing in between Topcoats
Mineral spirits or waterless cream hand cleaner for clean up
SURFACE PREPARATION
Remove hardware, doors and drawers
For soft woods such as pine, aspen or alder sand first with #120 and finish with #150 or #180. For hardwoods such as oak, maple or birch, start with #100 and finish no finer than #120 in order to keep the grain open to accept stain.
There are two ways to fill nail holes: 1) fill the hole with a putty that will accept a stain and then stain; 2) apply the stain and one application of Topcoat, then apply a colored putty to match the stain.
If you have dents in the wood, dribble some water in the dent to expand the wood fiber, let dry and sand smooth. Repeat until the dent is gone.
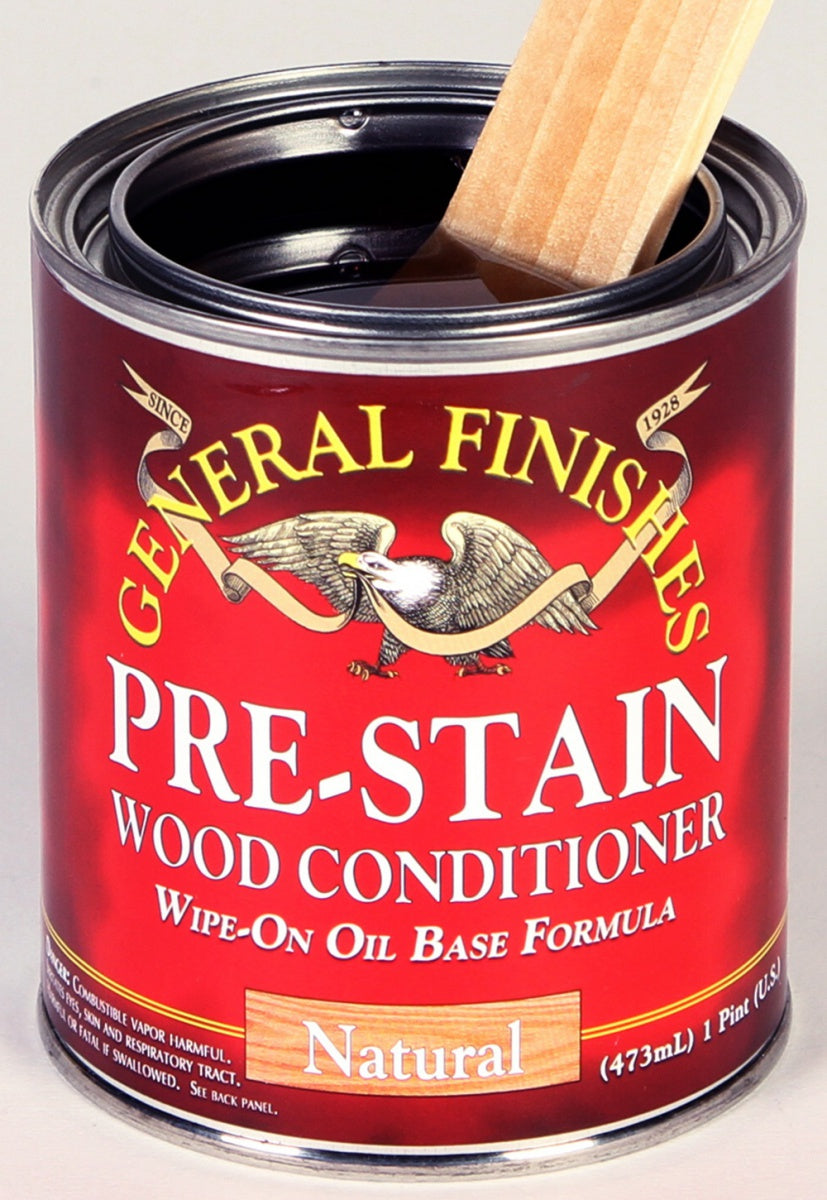
(OPTIONAL) PRE-STAIN WOOD CONDITIONER Pre-Stain Wood Conditioner is designed to help hard to stain woods such as pine, aspen and cherry accept a stain more evenly. IMPORTANT NOTE: Pre-sealing the wood will lighten the color of your stain. It's important that you test the Pre-Stain and color first. A second coat of stain may be applied after the first coat has dried to achieve a darker color.
1. Apply Pre-Stain to raw wood with a clean cloth, foam brush, or paint pad applicator.
2. Wipe off the excess with a clean, dry cloth.
3.-Allow Pre-Stain to dry 30 minutes before applying stain, but no longer than 2 hours.
APPLICATION OF STAIN
Stir stains well and test on hidden area.
Wipe on stain with a clean cloth (old T-shirts work well), a foam brush, or paint pad applicator.
Using a clean cloth, evenly wipe off the excess stain with grain.
If a darker or deeper color is desired, allow the first coat of stain to dry for 24 hours, then apply a second coat of stain in the same manner but do not apply more than 2 coats of stain.
Do not sand the stain coat. Go directly to the first Topcoat.
DRYTIME & CURE TIME
General Finishes Stains and Topcoats can dry in 6-12 hours under ideal conditions (70°F and 70% humidity). Cooler temperatures or higher humidity may extend the dry time to 12-24 hours or longer. Good ventilation and air movement will greatly improve dry time. The final Topcoat will completely cure in 10-14 days. You may use your project immediately after drying, just treat it with special care during the curing period.
COVERAGE
Stains - 200 sq. ft. per quart.
Top Coats - 300-400 sq. ft. per quart.
SIZE: Half Pints, Pints, Quarts, Gallons
STORAGE: Always store product in temperature controlled space. Partially used oil based products will start to oxidize upon contact with air, forming a film or hardening. If you plan on storing partially used product, add Bloxygen to replace the air, seal tightly, and store upside down.
WARNING: TEST FOR COMPATIBILITY WHEN USING THIS PRODUCT WITH PRODUCTS FROM OTHER BRANDS. General Finishes products should be tested to your complete satisfaction before using. General Finishes will not be responsible for any failure if our products are used in conjunction with other brands of finishes. We do not test General Finishes products with those of another manufacturer and will not accept liability if there is a compatibility issue.
Got Questions?
We Deliver!
Details
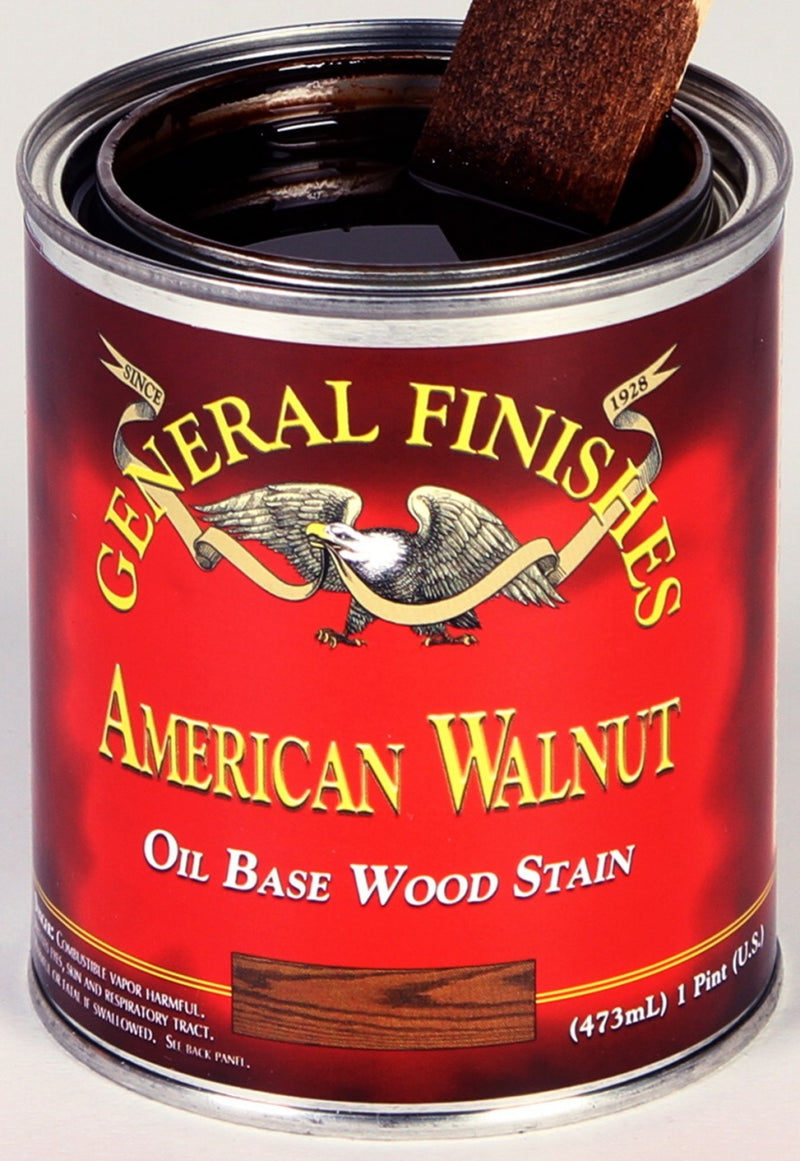
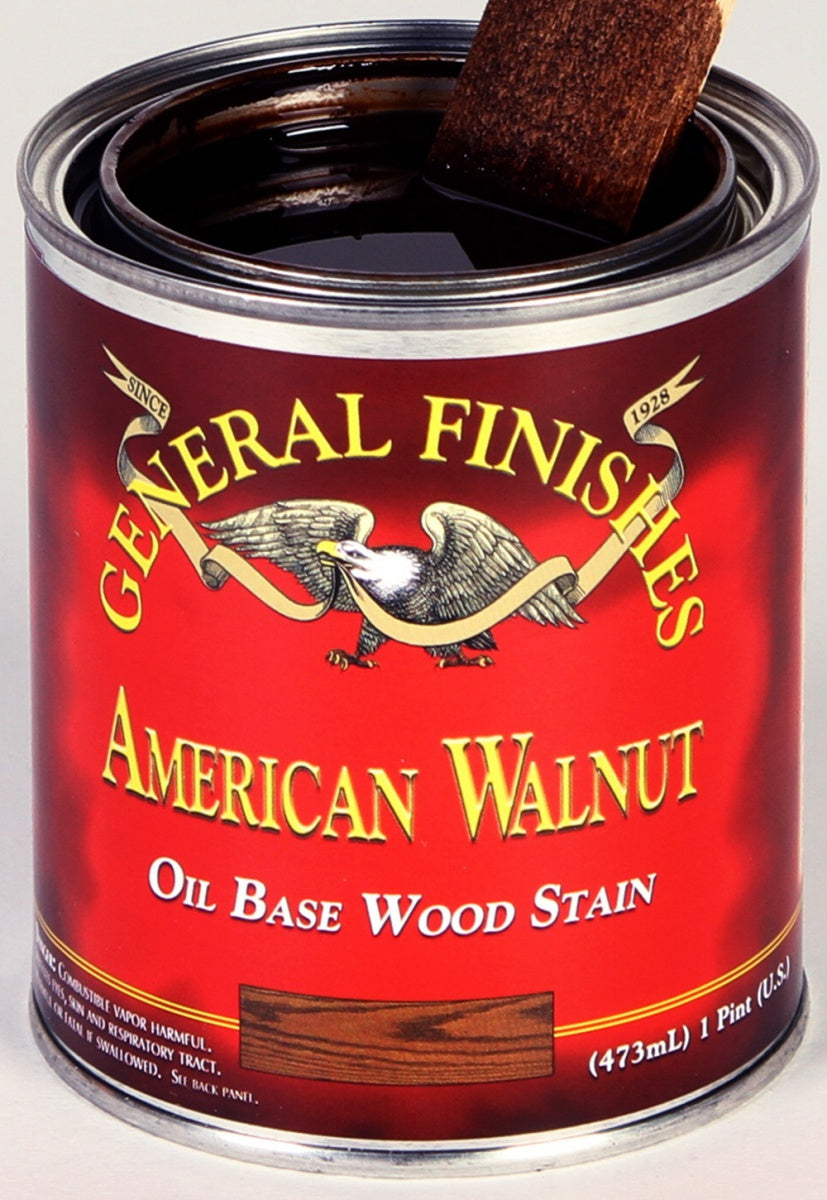
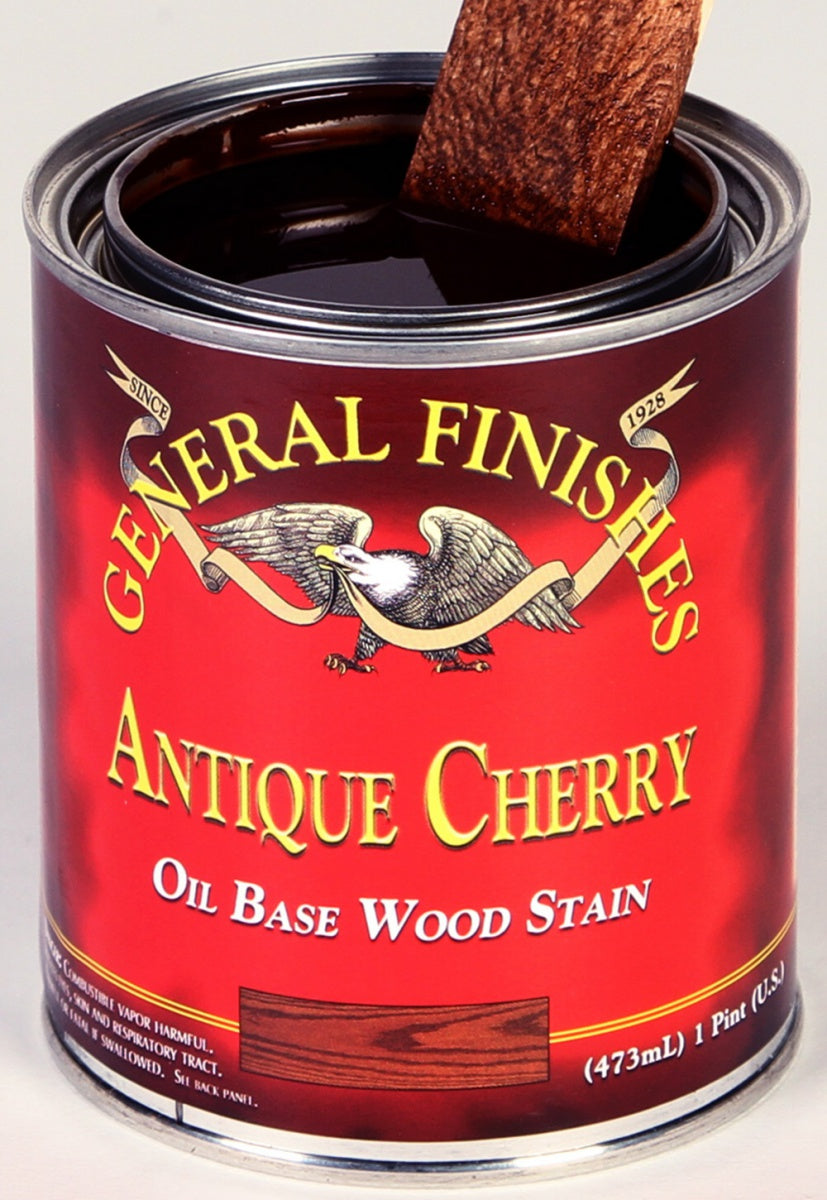
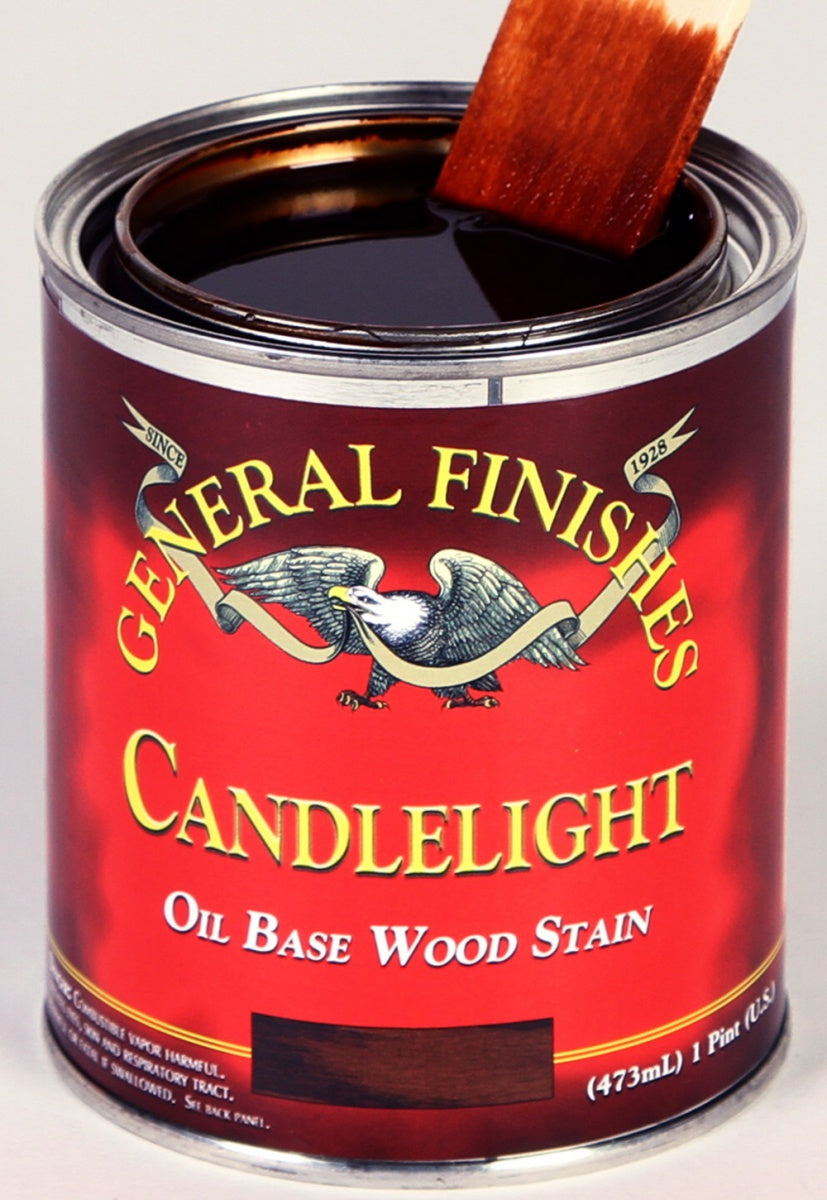
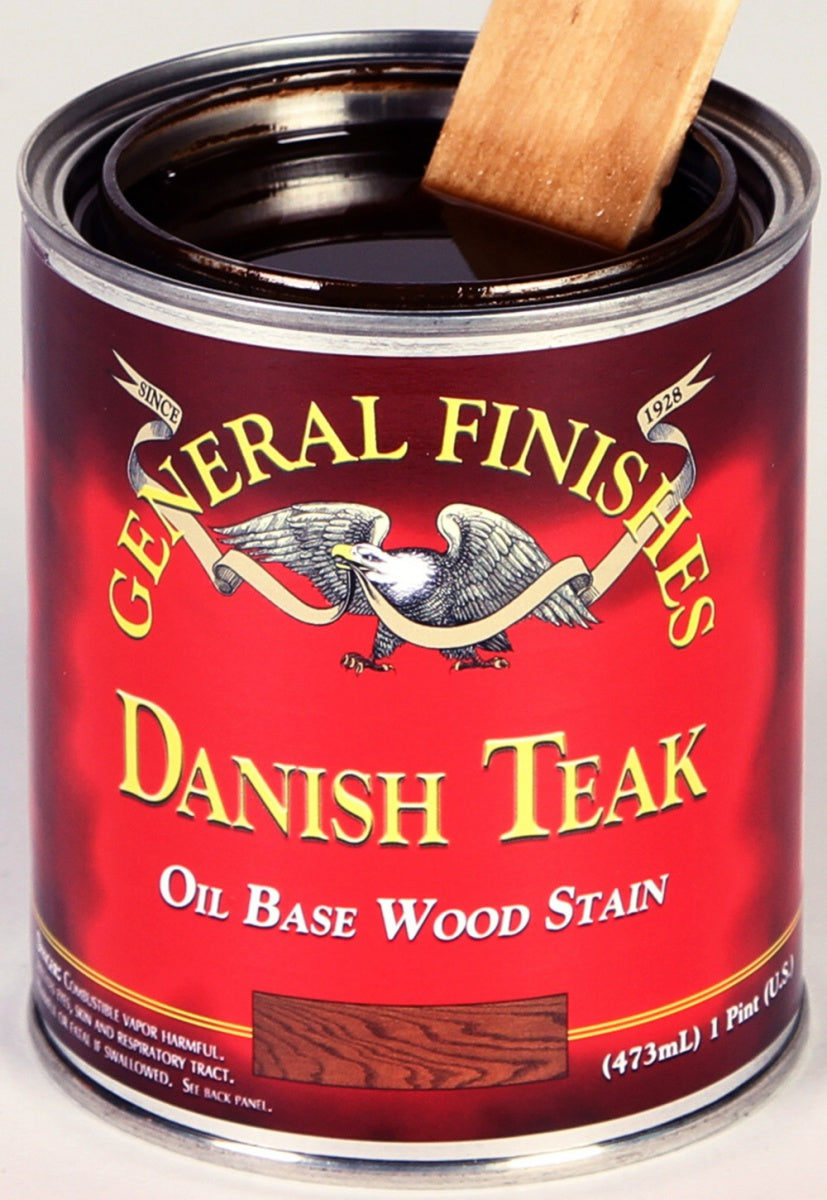
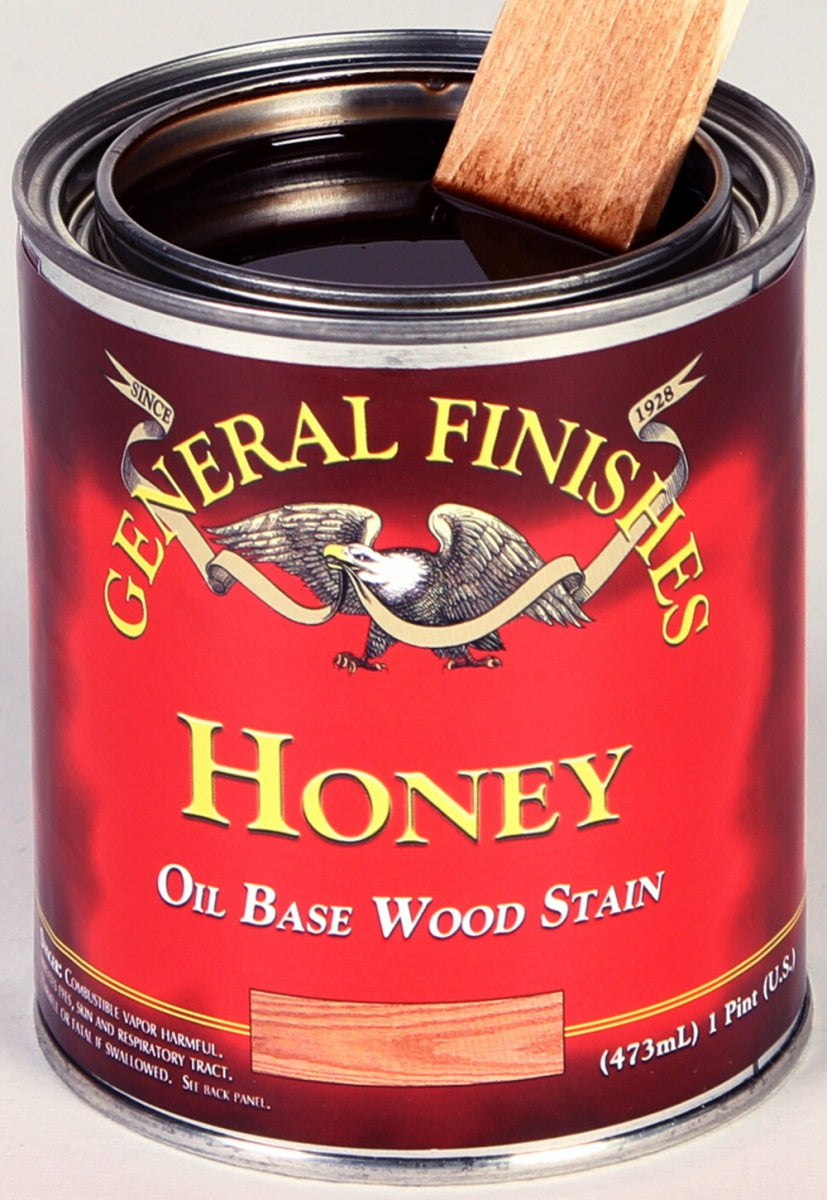
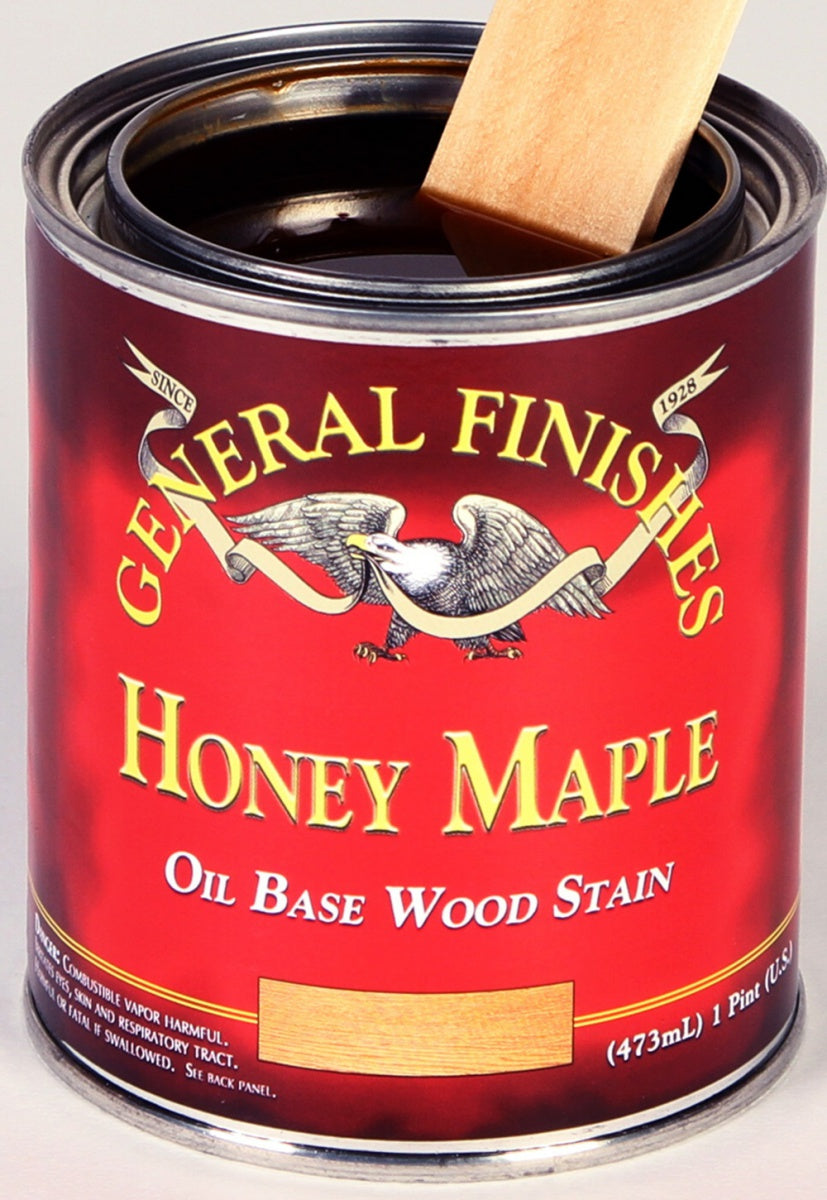
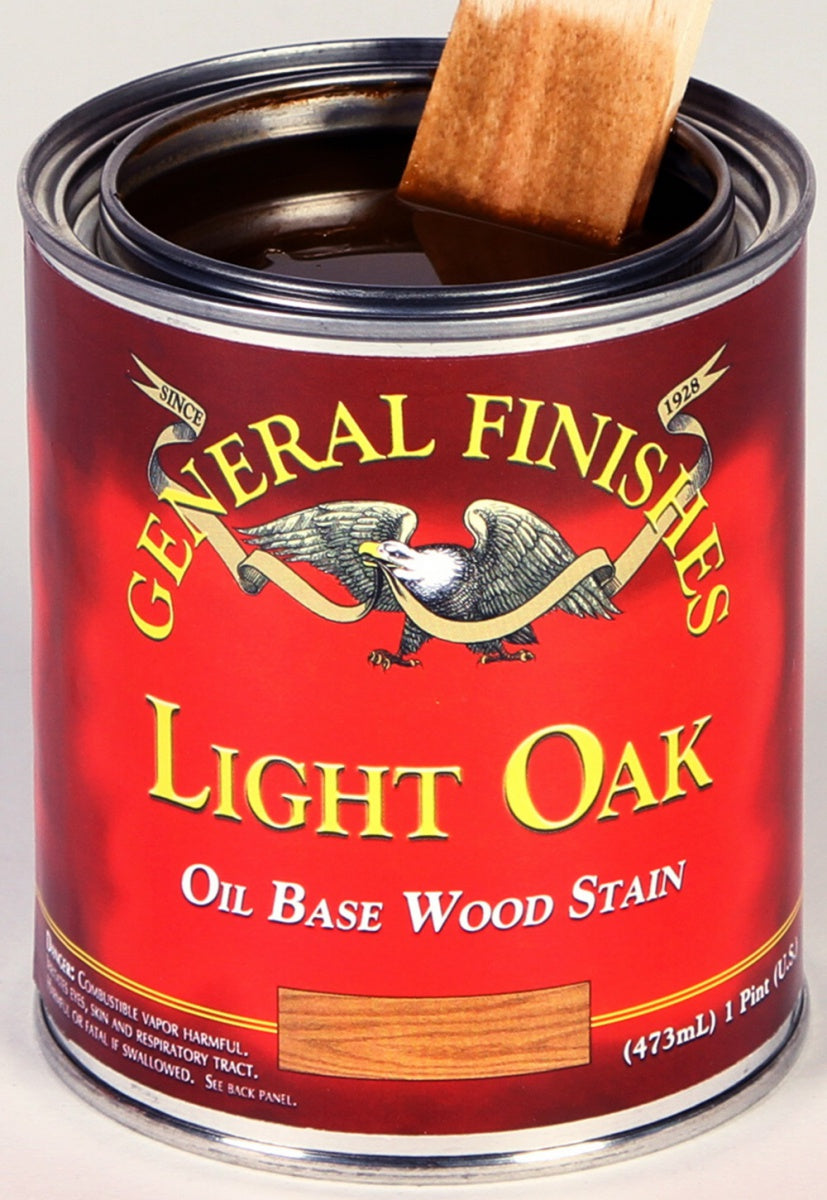
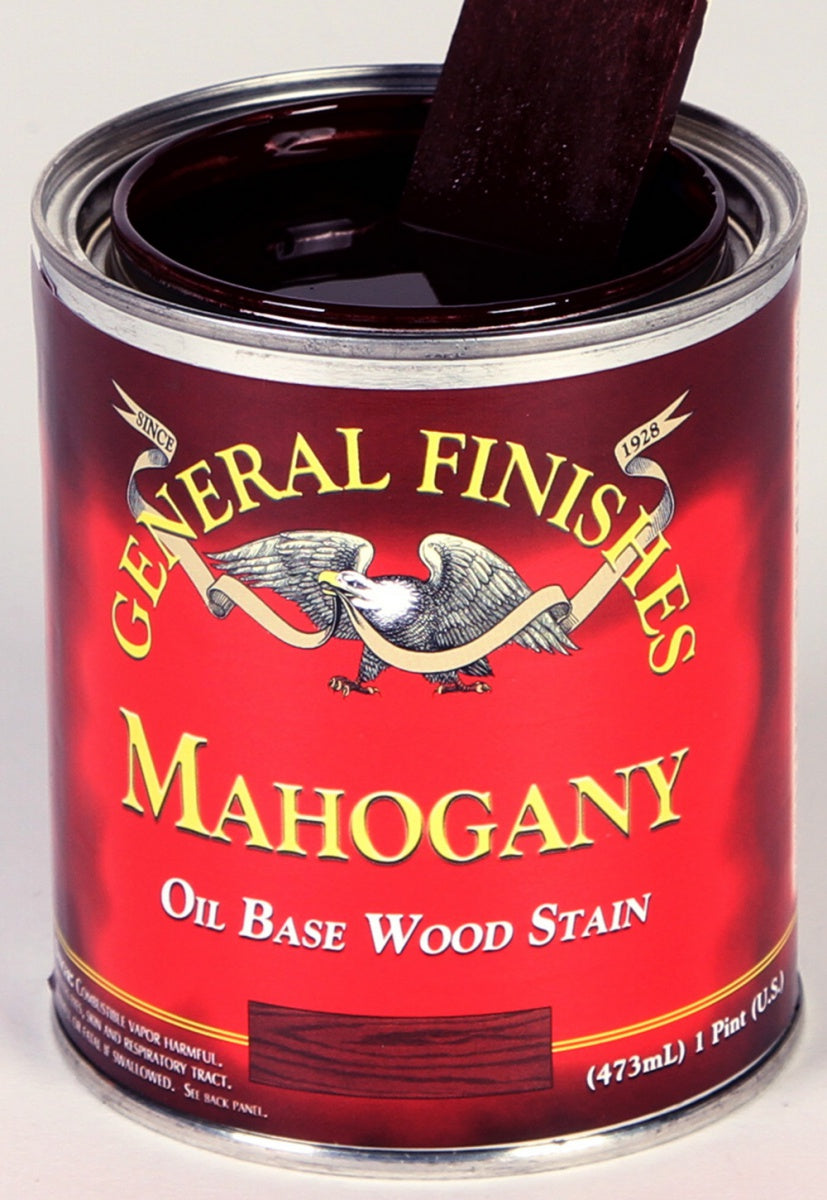
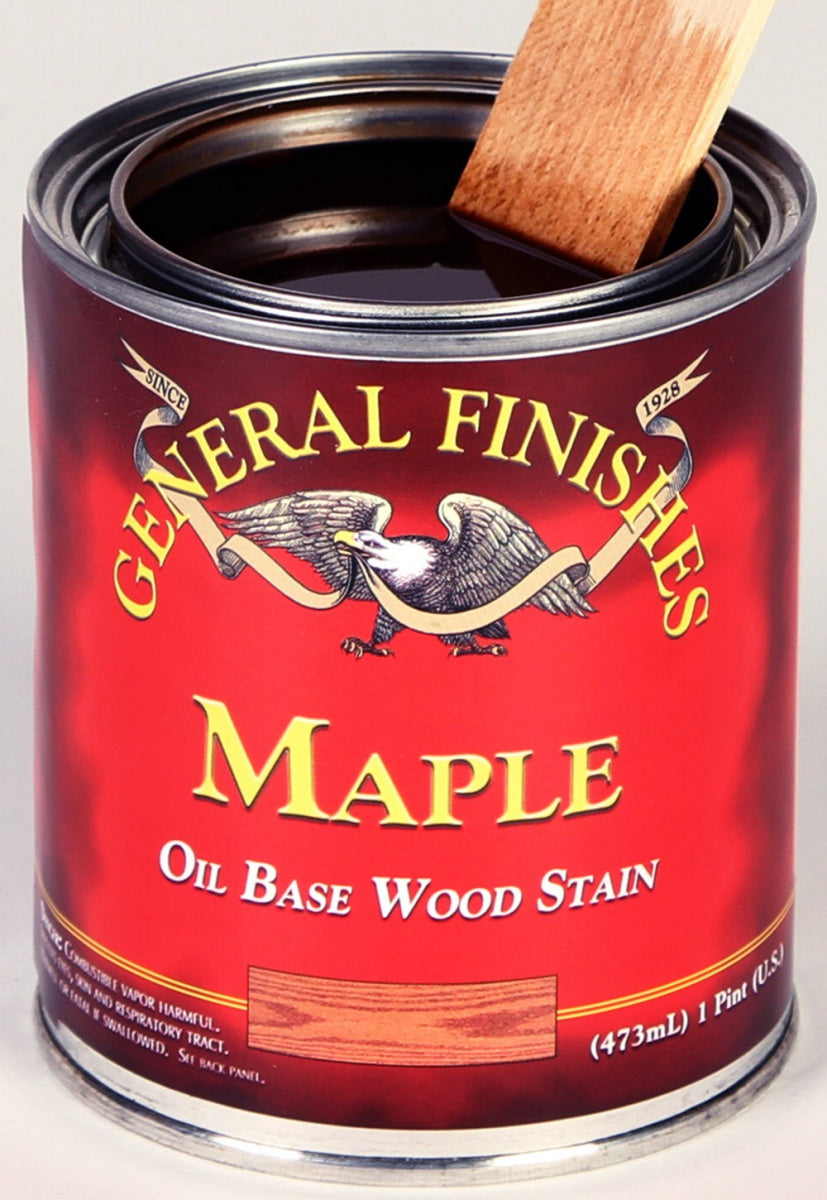
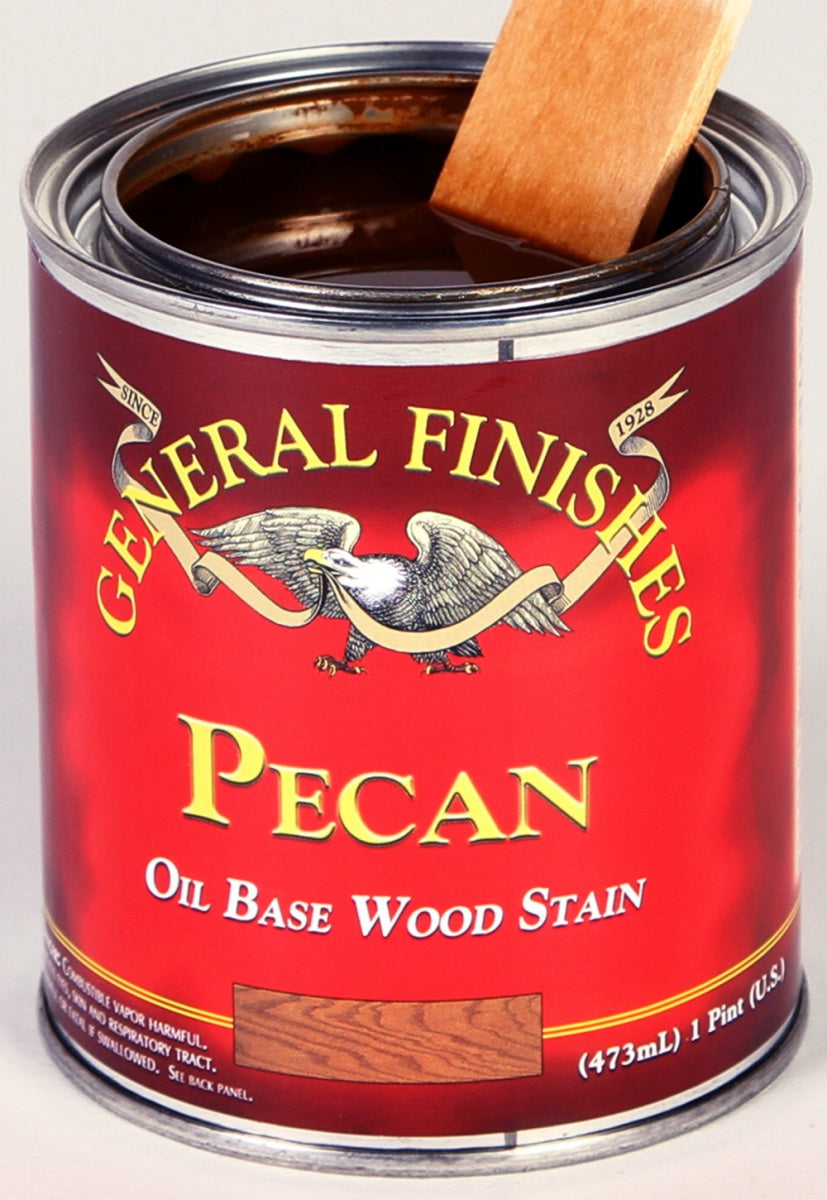
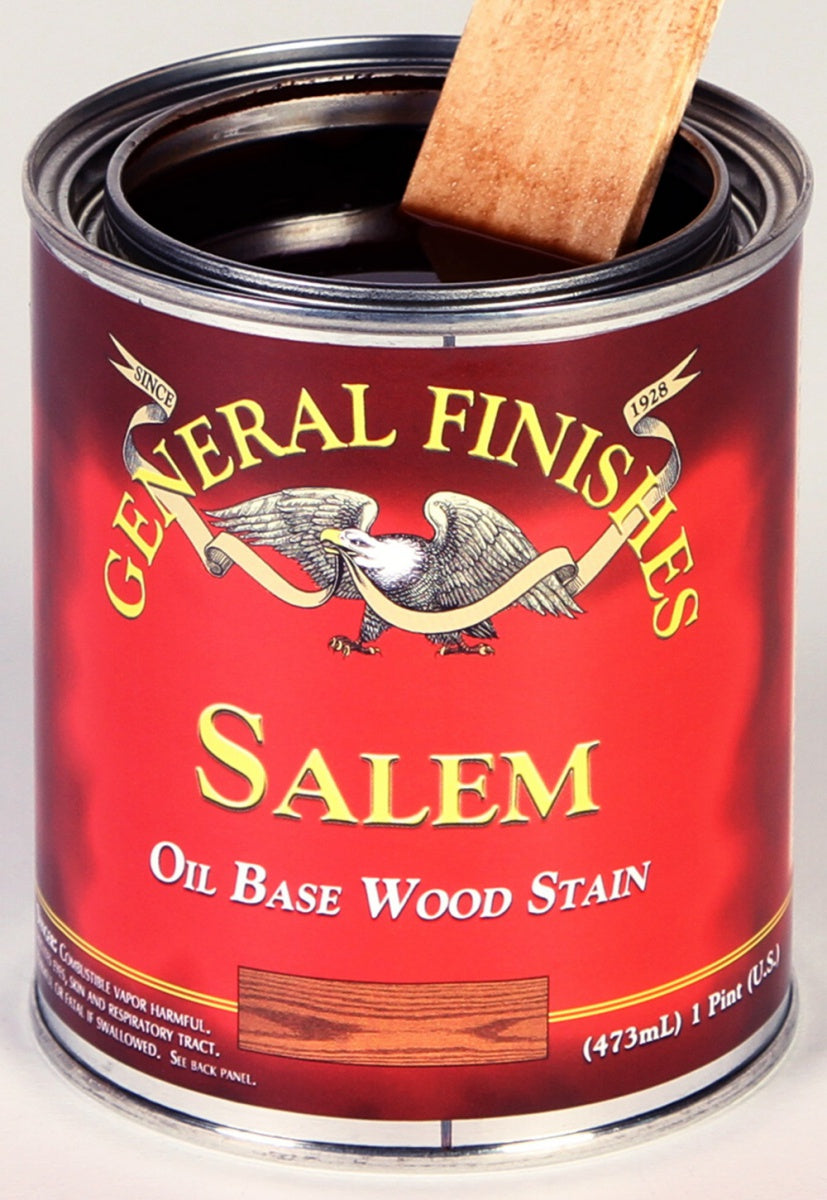
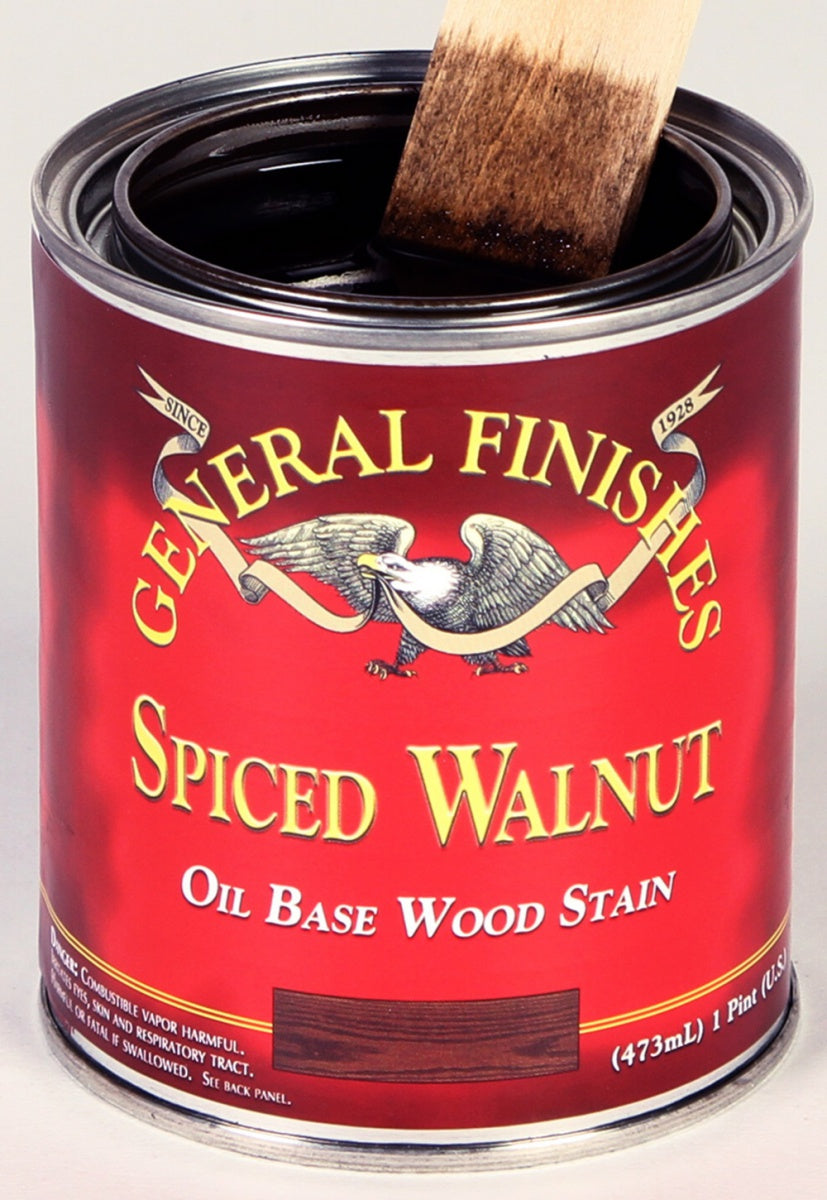
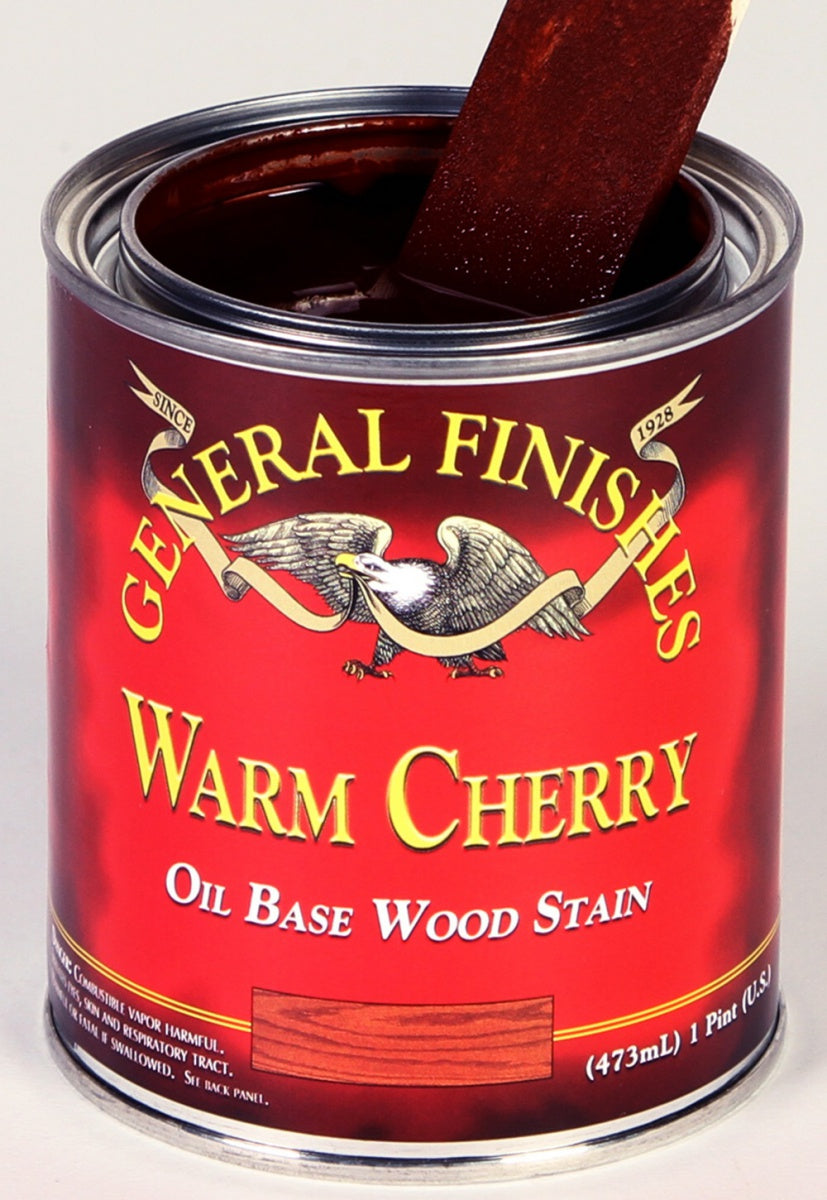
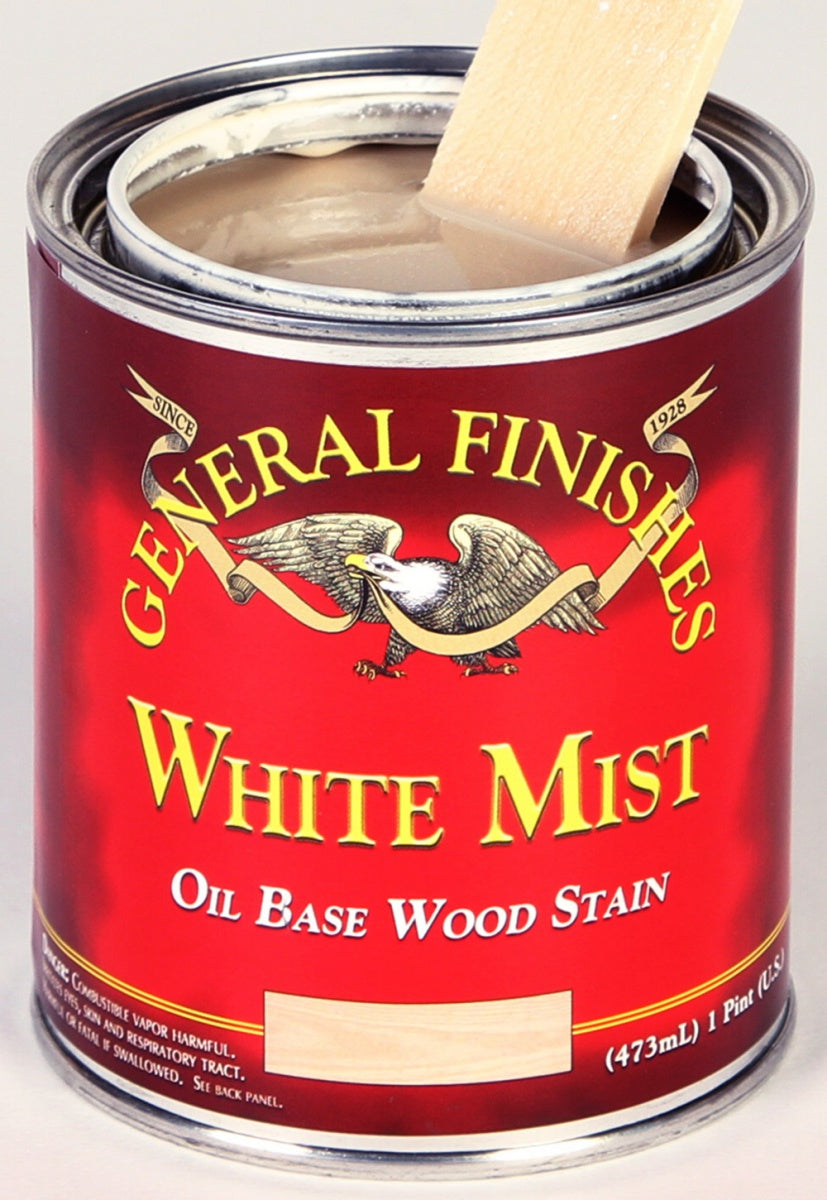
Oil Based Wood Stains are made from the highest quality oils, resins, and pigments to ensure your finishing project will be an easy and rewarding experience.
Visit the General Finishes Design Center OR Pinterest Board for more furniture finishing ideas.
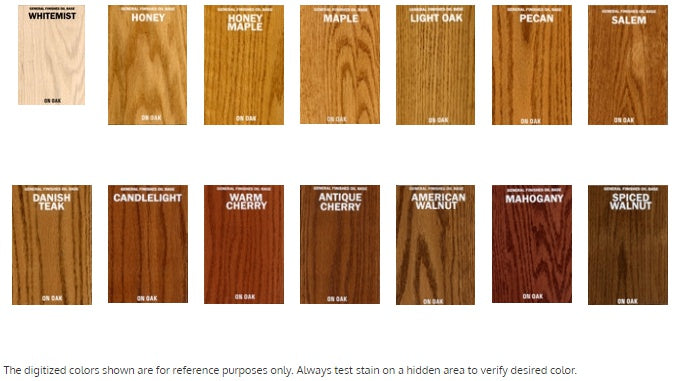
Click here for the color chart.


